


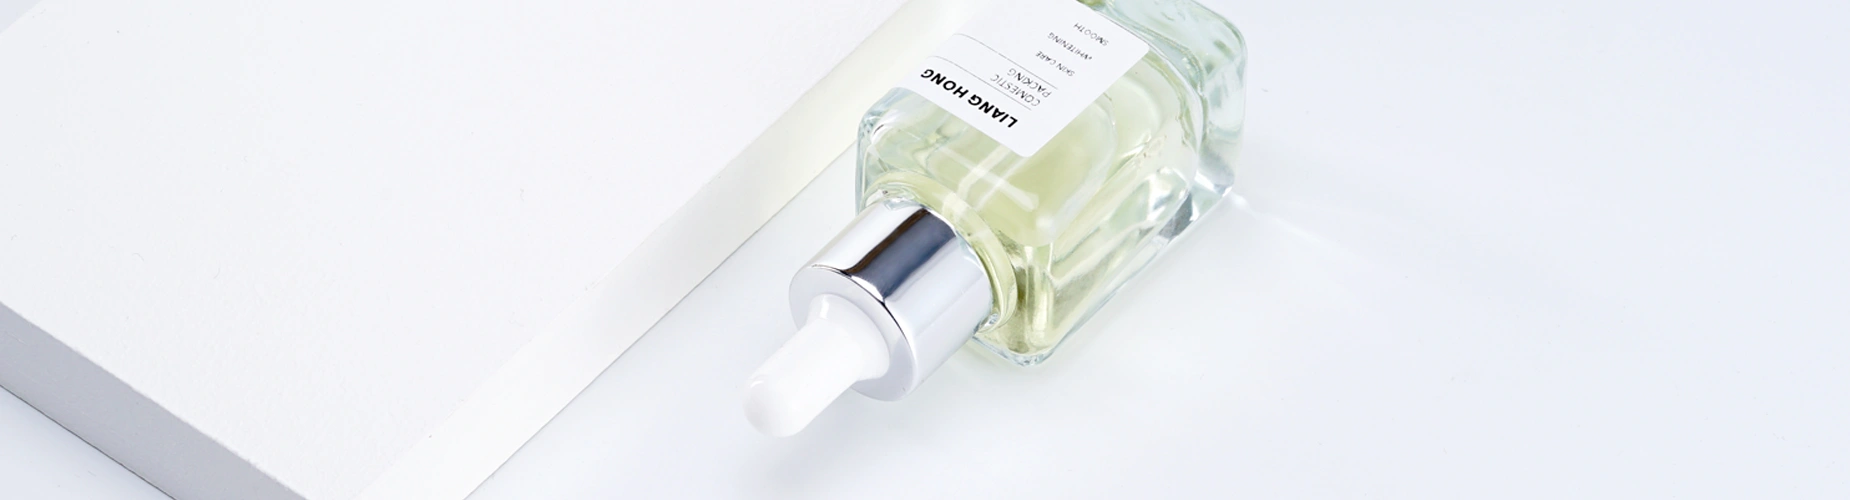
Custom Cosmetic Glass Bottle Process: From Concept to Production in 6 Steps
Reading time: 4 minutes
Introduction
Bringing a unique cosmetic glass bottle to market can feel overwhelming. But with the right partner and a clear roadmap, the customization process is straightforward and rewarding.
Whether you need a signature perfume bottle, a serum dropper bottle, or a luxury cream jar, understanding the workflow helps you avoid delays, control costs, and achieve the perfect result.
Below is the standard 6-step custom glass bottle process used by professional suppliers.
Step 1: Concept & Design Brief
Everything starts with your vision.
You provide:
Target volume (e.g., 30ml, 50ml, 100ml)
Rough sketches or reference images
Desired shape (round, square, oval, asymmetrical)
Neck finish type (screw neck, crimp neck for pumps, dropper threads)
Decoration preferences (frosting, screen printing, electroplating)
Pro tip: Even a hand-drawn sketch or a photo of a bottle you like helps the supplier understand your direction.
Step 2: 2D & 3D Technical Drawing
Once the concept is clear, the supplier’s engineering team creates technical drawings.
2D drawing – exact dimensions: height, diameter, wall thickness, neck specification
3D rendering – visual preview from all angles, helps spot design flaws
You will review and approve these drawings before moving to mold making. Changes at this stage are low-cost; changes later are expensive.
Step 3: Mold Development
Mold making is the most critical and cost-intensive step.
Lead time: 30–45 days typically
Mold material: Cast iron (for trial) or mold steel (for long production runs)
Cost factors: Complexity, number of cavities, surface finish requirements
The supplier produces a sample mold first. Multiple cavities can be added later for higher output.
Important: The mold is your asset. Some suppliers offer mold cost amortization over large orders.
Step 4: Sample Production & Approval
Using the trial mold, the factory produces physical samples.
You will evaluate:
Dimensional accuracy
Glass thickness and weight
Clarity or color (if using colored glass)
Compatibility with your cap, pump, or dropper
Typical sample round: 10–30 pieces
Time: 10–20 days after mold completion
You may need 2–3 sample rounds to perfect the design. Reputable suppliers include at least one round of adjustment.
Step 5: Decoration & Finishing (Optional)
After the glass body is approved, add your brand identity.
Common decoration techniques for cosmetic glass bottles:
Screen printing – best for logos, text, simple graphics; MOQ around 1,000+
Spray coating – solid color, matte or glossy finish; MOQ around 3,000+
Frosting / acid etching – soft, translucent luxury feel; MOQ around 3,000+
Metallization (PVD) – mirror-like gold, silver, or metallic effect; MOQ around 10,000+
Labeling – short runs, variable data; MOQ around 1,000+
Your supplier may handle decoration in-house or partner with a specialist.
Step 6: Mass Production & Quality Control
Once the sample is approved and decoration confirmed, full-scale production begins.
Typical lead time for mass production: 30–45 days (depending on order quantity)
Quality control checkpoints include: raw glass inspection (bubbles, stones, cracks), dimensional checks every hour during production, decoration inspection (alignment, adhesion, color consistency), and packing inspection (carton strength, foam inserts, export readiness).
Many suppliers provide a pre-shipment sample or video inspection report.
How Long Does the Entire Process Take?
Design & drawing: 1–2 weeks
Mold making: 4–6 weeks
Sample rounds: 2–3 weeks
Decoration setup: 1–2 weeks
Mass production: 4–6 weeks
Total estimated: 12–18 weeks
Rush options may shorten the timeline by 20–30% but incur additional costs.
Cost Factors to Budget For
Mold fee – one-time, typically $1000–$3,500 depending on complexity
Sample fee – often waived with a production commitment
Unit price – depends on glass weight, decoration, order quantity
MOQ (Minimum Order Quantity) – usually 50,000 pieces for custom molds
For smaller brands, consider semi-custom options: modifying an existing stock bottle with custom decoration.
Conclusion
Custom cosmetic glass bottles require patience and planning, but the result is a unique, brand-building package that plastic cannot match.
By following these 6 steps—concept, drawing, mold, sample, decoration, production—you avoid common pitfalls and launch your product with confidence.
Ready to Start Your Custom Bottle?
[Contact our team] to discuss your design. We offer: free initial consultation, 3D rendering within 5 business days, mold cost sharing for qualified orders, and sample support for small brands.